Lists
A list is a collection of data that you can share with your team members and people who you've provided access to. You'll find a number of ready-to-use list templates to provide a good starting point for organizing list items. You can create lists in Microsoft SharePoint, the Lists app in Microsoft 365, or Teams.
You can create and share lists that help you track issues, assets, routines, contacts, inventory, and more. Start from a template, Excel file, or from scratch.
Create a List
From the Lists app in Microsoft 365:
- Select + New list (To get to the Lists app: at the top of any page, select the Microsoft 365 app launcher → All apps → Lists)
From SharePoint:
- Go to your site home page or Site contents
- Select + New > List
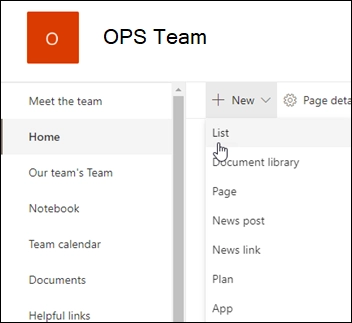
From the Create a list page, select one of the following options:
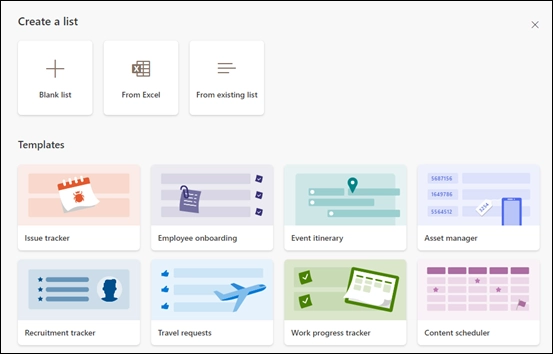
-
Blank list — Choose to start a list from scratch. Add a list Name, Description (optional), and select whether you want the list to appear in the left site navigation. When you're finished selecting options, select Create.
-
From Excel — Choose this option to create a list based on an Excel spreadsheet.
-
From existing list — Choose this option to save time and create a new list based on the columns in another list. Your new list will start with all the same columns, but it won't include any of the data from the original list.
-
Templates — Select a template (e.g. Issue tracker, Employee onboarding, Event itinerary, Asset manager, Recruitment tracker, Travel requests, Work progress tracker, Content scheduler) to see what columns the template contains and scroll through sample data. If you find a template you like, select Use template. If you don't see any you want, select Back to return to the Create a list page. Learn more about creating a list from a template or list templates in Microsoft 365.
Note
Visual updates for lists are gradually rolling out worldwide, which means your experience may differ from what's described here.
Note
The limit is 2,000 lists and libraries combined per site collection (including main site and any subsites). After that, you'll receive an error. See SharePoint limits.
Add Items and Columns
When your list opens, add an item by either selecting + New or Edit in grid view. (Grid view lets you add information freely to different rows or columns.)
To add different types of information to the list, select + Add column. To learn more, see Create a column in a list or library.
Manage Your List
Tip
To change the name of your list, select its title, type a new name, and then select Save. Or from the Lists home page, on your list's tile, select Open actions (...) → Customize.
To change list properties, delete the list, add permissions, manage columns, and other updates, select Settings → List Settings.